


The 90’s can make a fashion comeback every year, but there’s one thing we hope stays in the past – chunky highlights. Thankfully, we’ve refined the art of highlighting to natural, perfectly blended color that looks kissed-by-the-sun.
And of course, ombré, the biggest breakthrough in highlights, has been making waves for years. But is ombré unlike it’s very distant relative, the chunky highlight, a hair trend that’s here to stay? Yes, it is (at least for a while!) – especially since it’s so natural looking and looks great on everyone. So, grab your brushes. It’s time to ombré!
Look #1: The golden ombré

How to DIY
Haven’t rocked the ombré look yet? This classic ombré looks gorgeous on darker hair, plus it’s super simple to do. The darker you are, the more dramatic it will be.
Step 1
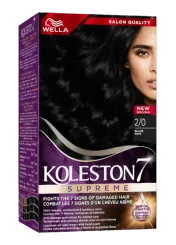
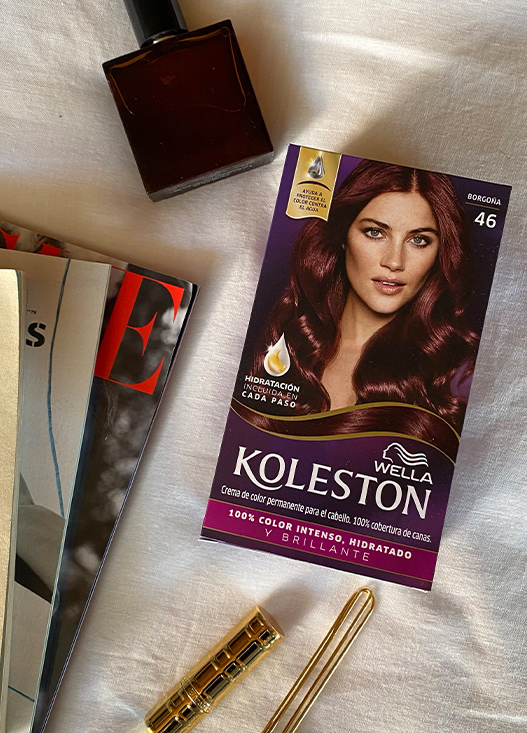
Select either a lighter shade of permanent hair color, like Koleston, or a highlighting kit specifically designed for dark hair color
Step 2
Map out whether you want to see your long blonde steaks or a brush coating at the ends (typically, if you have long hair, you’ll want to start below mid hair shaft).
Step 3
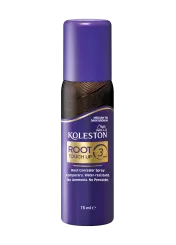
Apply color using a hair color brush (Pro Tip: Koleston Root Touch Up 10 already includes a brush and works for ombré too).
Step 4
Apply your lighter hair in big sweeping brush strokes on the surface of the hair to avoid hair sticking together.
Step 5
Repeat until you have applied color to your desired strands.
Step 6
Set your timer for the time listed on the box.
Shades recommended for dark brown hair:
For lighter strands, use Koleston Permanent Hair Color Cream Multi-technique Highlights. If you want a warm golden ombré, try Koleston Hazelnut 73.
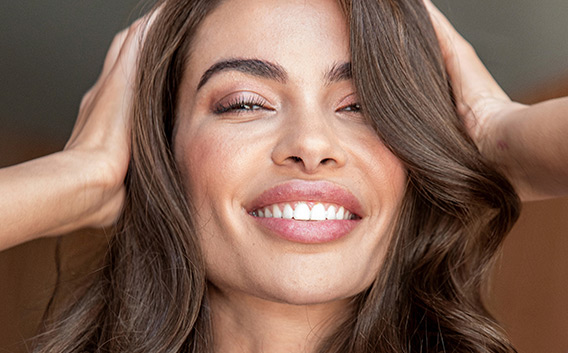
Look #2: Curvy red ombré

How to DIY
Perfect for wavy hair that’s medium to light brown, this fiery contrast will help bring out the natural tones of your hair and highlight its natural texture.
Step 1
Choose the tone of red you want to see when your hair curves and bends. You can go up to 2 levels lighter than your starting color.
Step 2
Using a hair color brush, apply your permanent red shade on dry, curvy styled hair. Make sure to apply with large sweeping brush motions on the surface of the hair and detangle using your fingers.
Step 3
Repeat until all your desired strands are coated.
Step 4
Set your timer for the time listed on the box.
Shades recommended:
Koleston 566 Aubergine. If you’re feeling like a pro, lighten your hair first with Koleston Permanent Hair Color Cream Multi-technique Highlights. After you’re finished, apply Koleston 466 Hot Red / Bordeaux to glaze the highlights.
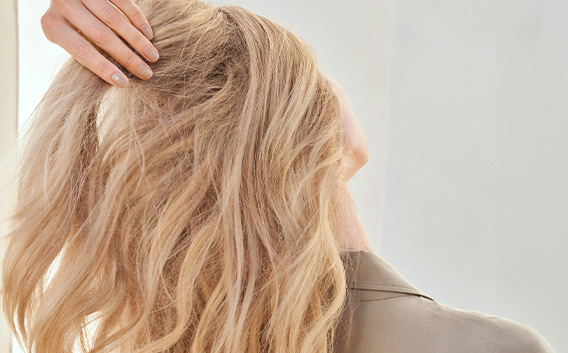
Look #3: Kissed by the sun ombré

How to DIY
Depending on your starting hair color, you may want to choose two slightly different shades to create a dark and light contrast. Use a slightly darker hair color for your root area and a lighter shade on your strands. If your hair is already a dark blonde or light brown, this look is perfect for you! Choose a shade for your roots that matches your current color just to give them a bit more shine and vibrancy.
Step 1
Apply the darker color to the root area using a hair color brush. We like Koleston Permanent Color Cream 40 Medium Brown.
Step 2
After applying, process your color for the time indicated on the box and rinse well.
Step 3
Blow dry or let your hair dry naturally.
Step 4
Using a hair color brush in a sweeping motion, apply the second lighter hair color on the surface of dry wavy hair. Select the areas you would like to lighten like around the face.
Step 5
Set your timer for the time indicated on the box. Check your hair color every 5 minutes until your desired blonde is reached.
Shades recommended:
For your base/roots: Koleston Permanent Color Cream 40 Medium Brown. For your lighter ombré pieces: Koleston Permanent Hair Color Cream Multi-technique Highlights.